Hand’s On Activities: InDesign
Welcome to the hands-on activity for InDesign! Please note that this document is meant to guide a student on how to complete their first InDesign Project after they have already taken some time to review the corresponding InDesign Training Manual (which goes into specifics of how to use the tools and techniques referenced below). Feel free to complete the project while referencing the InDesign Training Manual as you go!
Final Project Reference
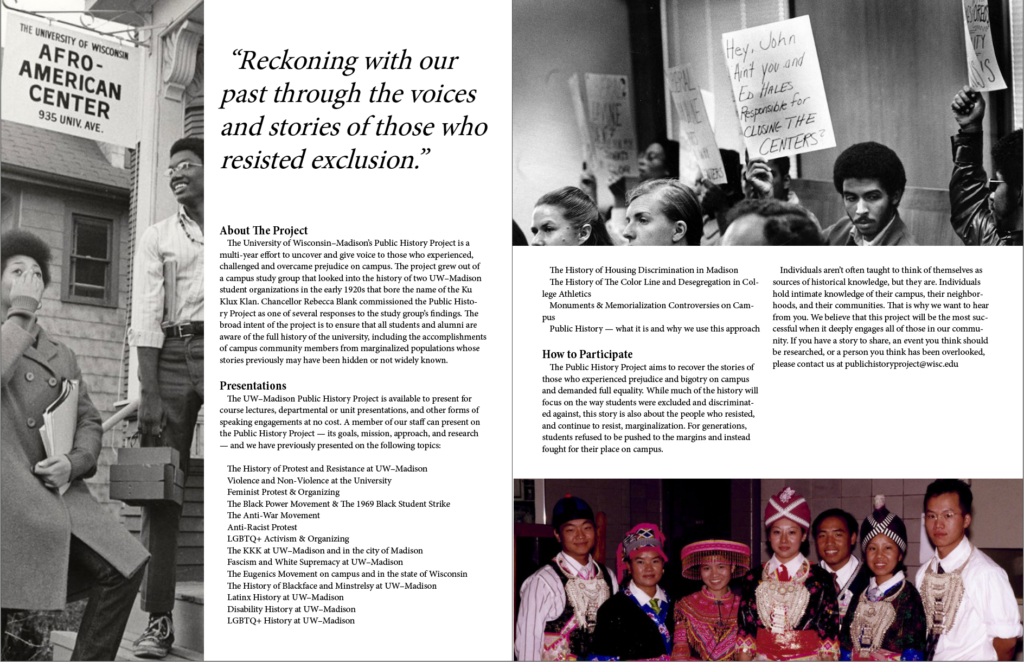
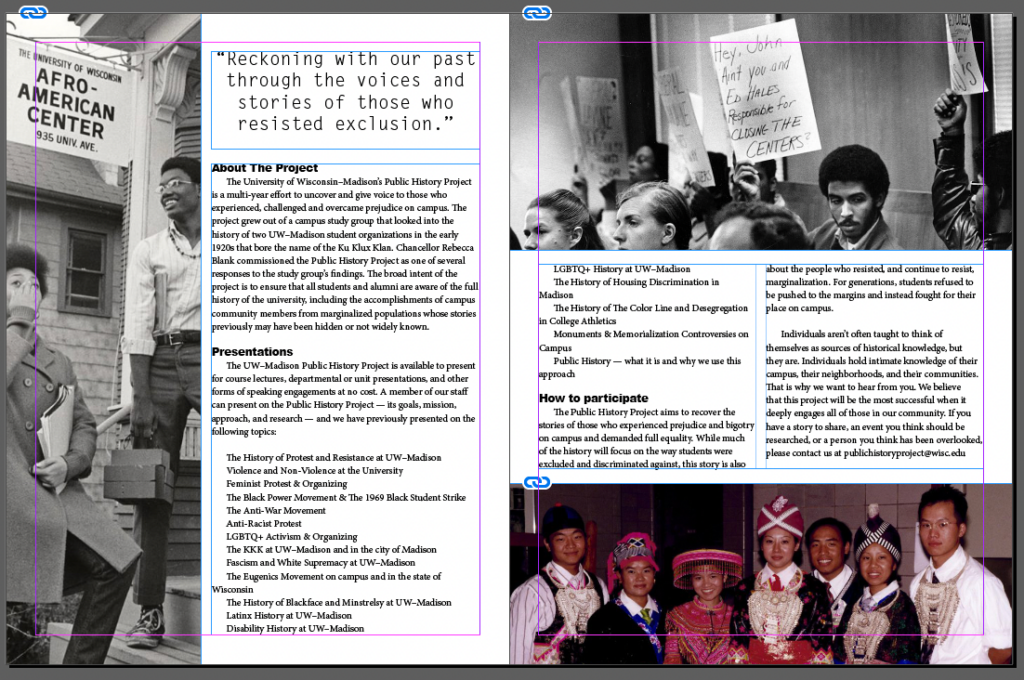
For our InDesign Hands-On Activity, we will create a 2-page spread with a cover. The image on the right is an example of the cover page, while the image below is an example of what our spread will look like.

Project Set-Up
- Download the InDesign class files provided by STS
- Open InDesign and start a New Project
- Enter the specifications listed below for your new project
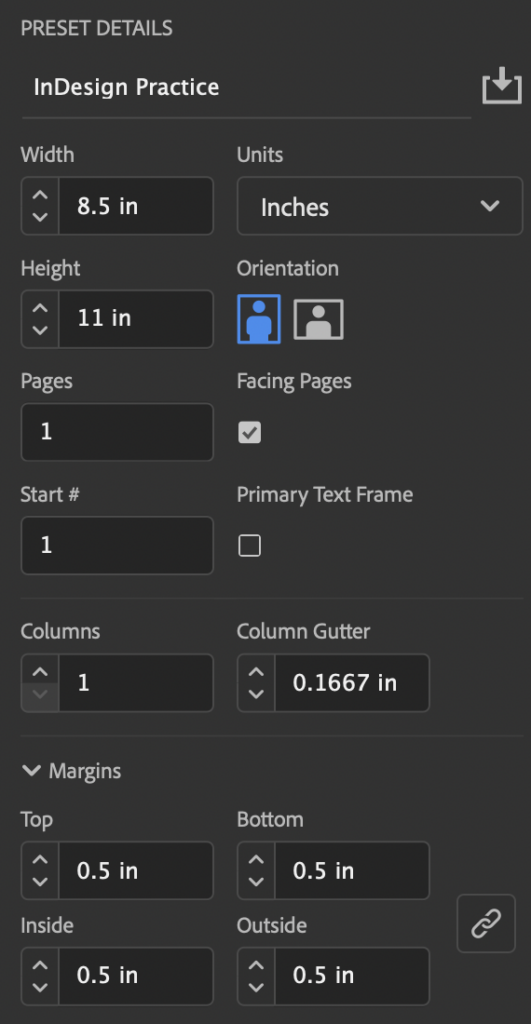
Project Name: InDesign Practice
Units: Inches
Width: 8.5 in
Height: 11 in
Orientation: Portrait
Pages: 1 (we will add more later)
Number of Pages specifies how many pages the document will start out with. You can always add additional pages once the document is created.
Check “Facing pages”
Facing Pages makes left and right pages face each other in a double-page spread, generally for print materials like magazines and books. Deselecting this option will allow each page to stand alone, such as when you’re designing flyers or posters.
Start # 1
Start Page # is useful for page numbering. It defaults to 1. If you prefer the page numbering to start on 692, for example, you can do so by typing the numerical value in this section.
Columns: 1
Margins: .5 for all
Bleed and Slug: 0 for all
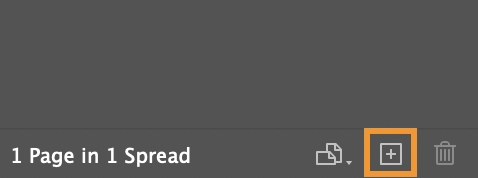
4. From the Pages Panel, add 2 pages, so we have a total of 3 pages.
Adding Frames and Inserting Images
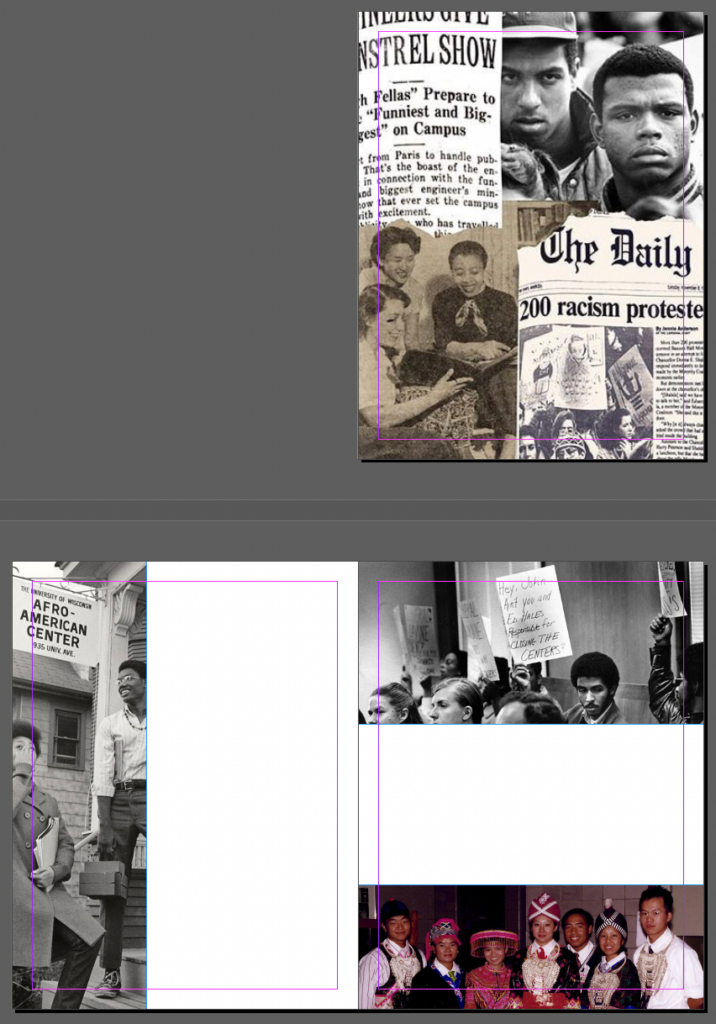
For our practice project, we will create four frames of various sizes (refer to the image above) and import the following images from the class files provided by STS:
- Cover Page: For our cover page, create a rectangle frame the size of the entire page. Import the image named cover page.jpeg from the downloaded class files. Resize and reposition as necessary.
- Left-Page Spread: For the left-page of our spread, create a frame on the most left-side so it covers a little less than a half of the page. Import the image named afro-american-center.jpeg and resize/reposition as you see fit.
- Right-Page Spread: For the right-page of our spread, create one frame at the top covering a little more than a third of the page. Import the image named 1973-protest-closing-cultural-centers.jpeg. Create another frame at the bottom covering a little less than a third of the page. Import the image named hasa-1999.jpeg. Once again, resize and reposition as needed.
Create Text Frames and Format Type
Now we will create three Text Frames and only format the top text and a single paragraph within our body text so we can later make it into a Paragraph Style that we can eventually add to the rest of our body paragraphs – this will make more sense a little further down the activity.
Top Text Frame (Left Page)
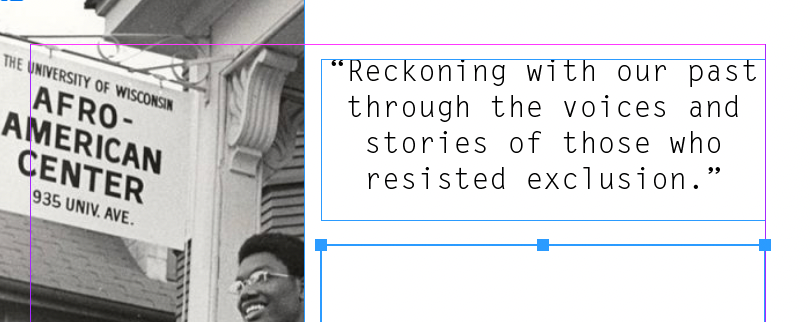
- Within your InDesign practice project, use the Type Tool to create two text frames on the left page and one on the right page similar to the image below:

- From the downloaded class files folder, open the text file named “spread_text.txt”, highlight the first sentence (“Reckoning with our past through the voices and stories of those who resisted exclusion”), and copy it (Command+C/Control+C). We’ll come back to this file later to copy the rest of the text.
- Go back to InDesign, click on the top text frame of the left page with the Type Tool, and paste (Command+V/Control+V) the text.
- Highlight the text, and then using the Properties Panel options, format the text to your liking (change the font, size, alignment, etc.) Note that it does not have to look exactly like the example below – this is just a chance for you to practice formatting text!
Bottom Text Frame (Left Page)
- From the “spread_text.txt” file and copy the rest of the text (everything except the first sentence).
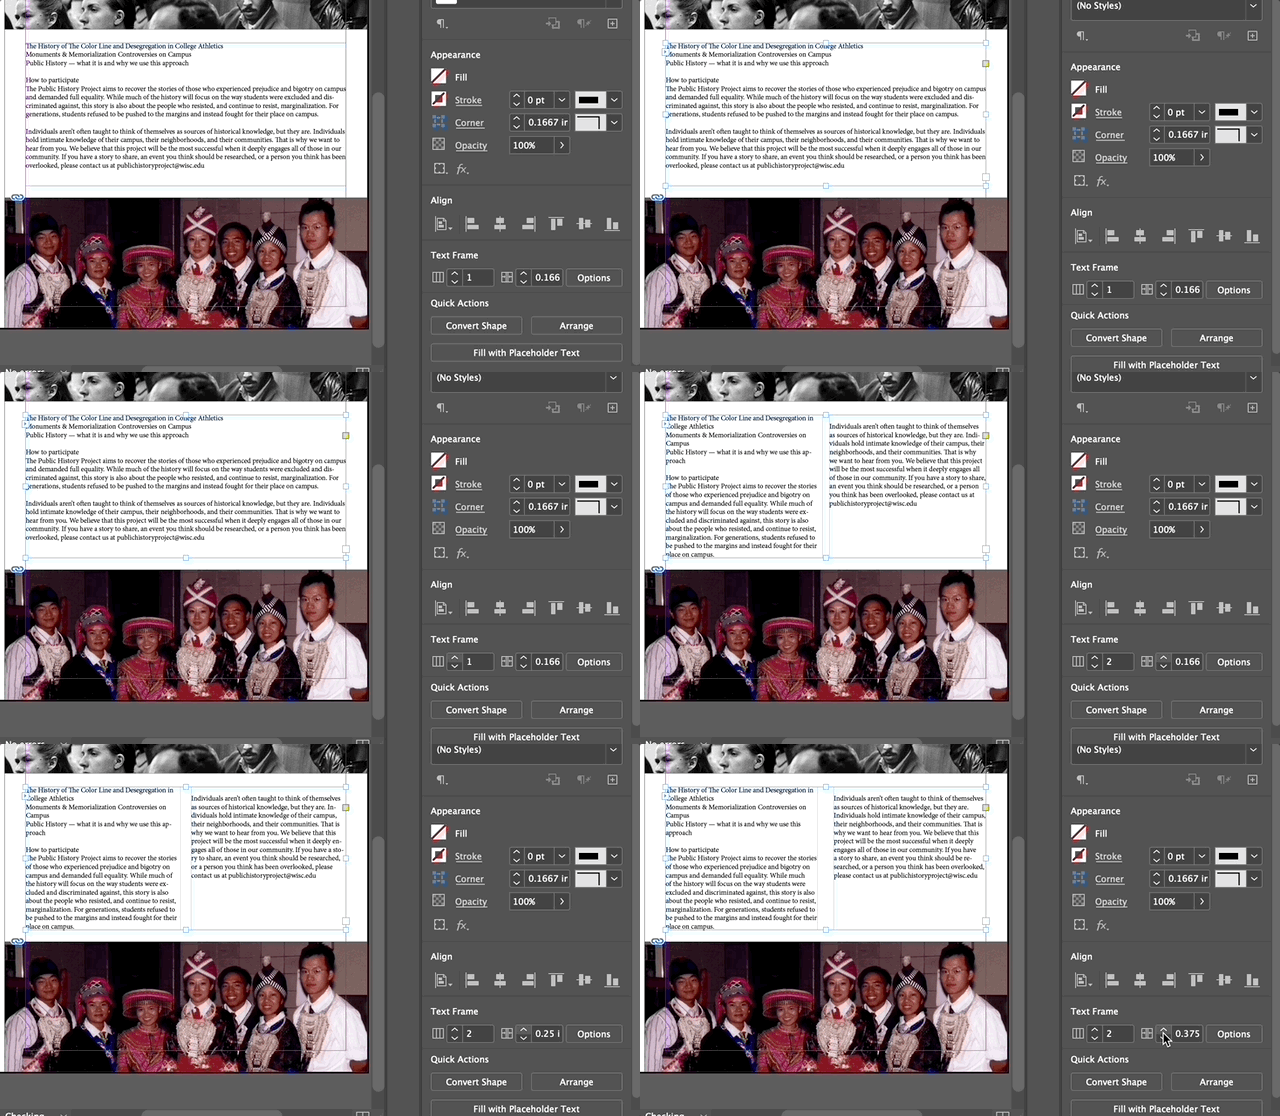
- Go back to InDesign, click on the bottom text frame of the left page with the Type Tool, and paste the text. Notice how not all of our text shows up. There’s too much text for this one text frame, meaning we will need give it more room! Link this text frame to the text frame on the right page or load the type and click and drag to create a new text frame.
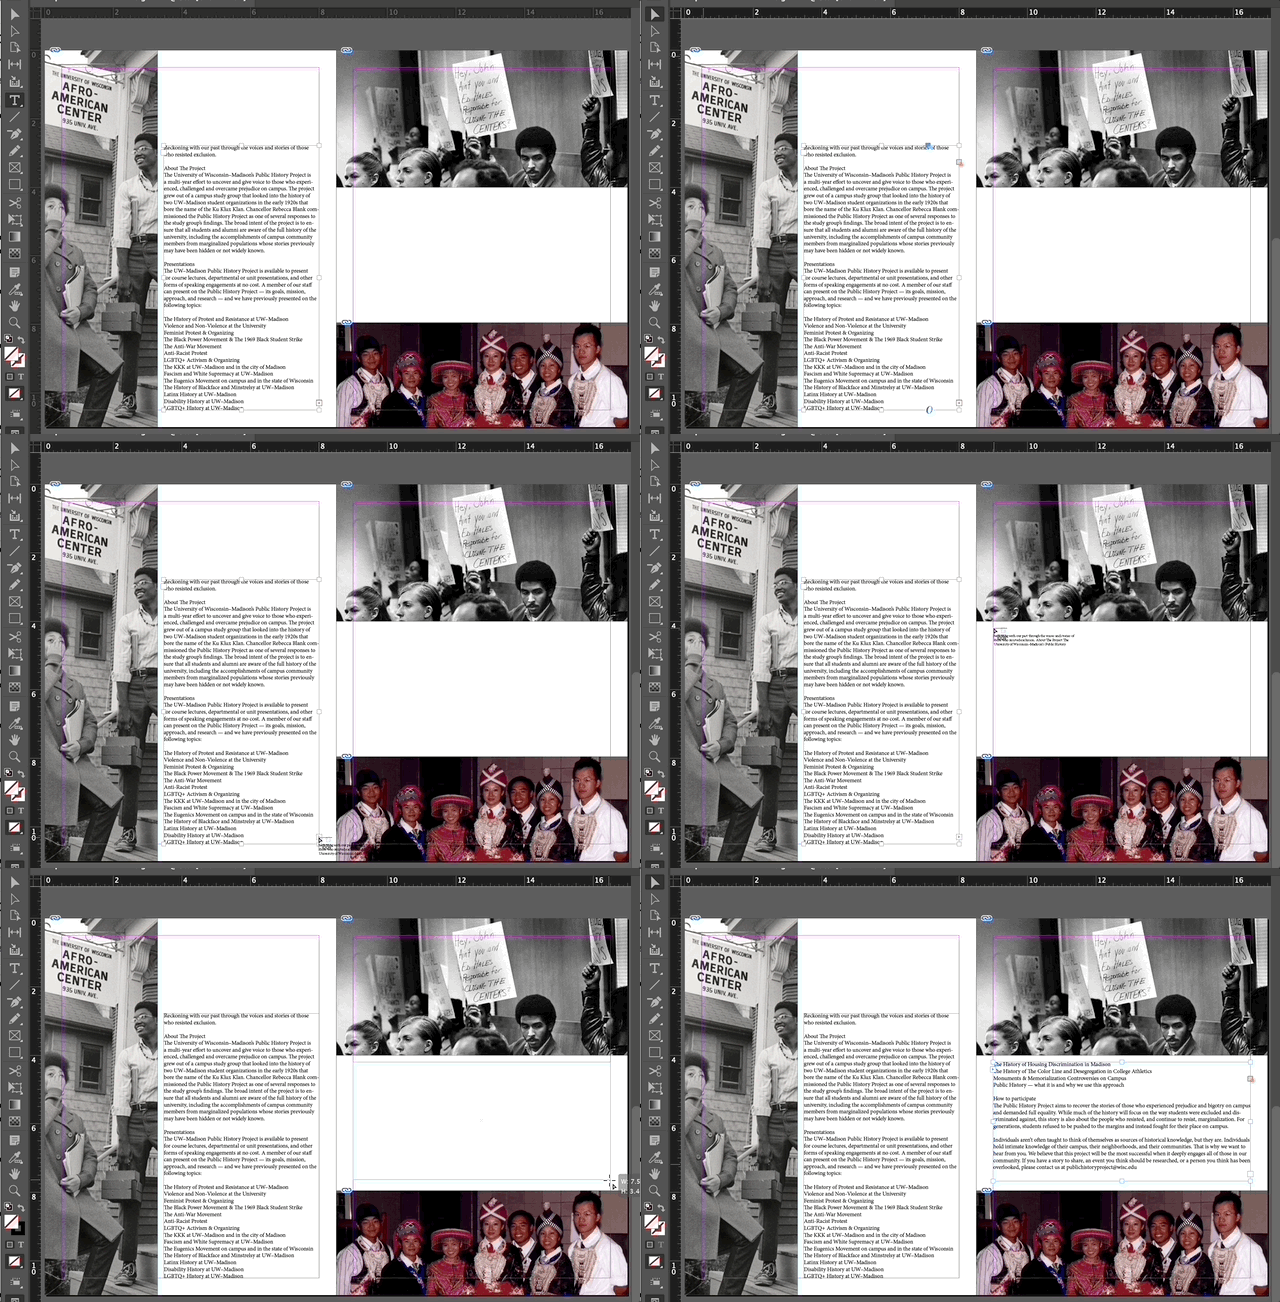
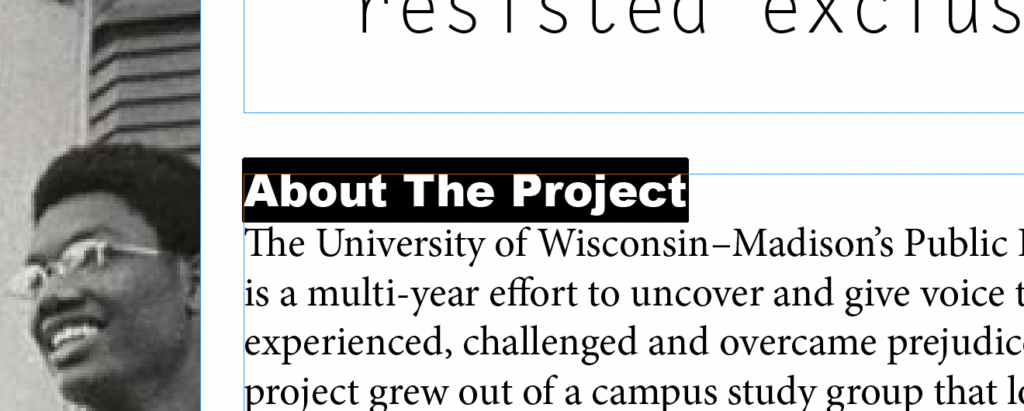
- Highlight “About The Project”. Since this line of text is a heading, let’s change the font size to be a little bigger and find a font that is bolder. Note that your choice of font and size does not need to match the example below exactly!
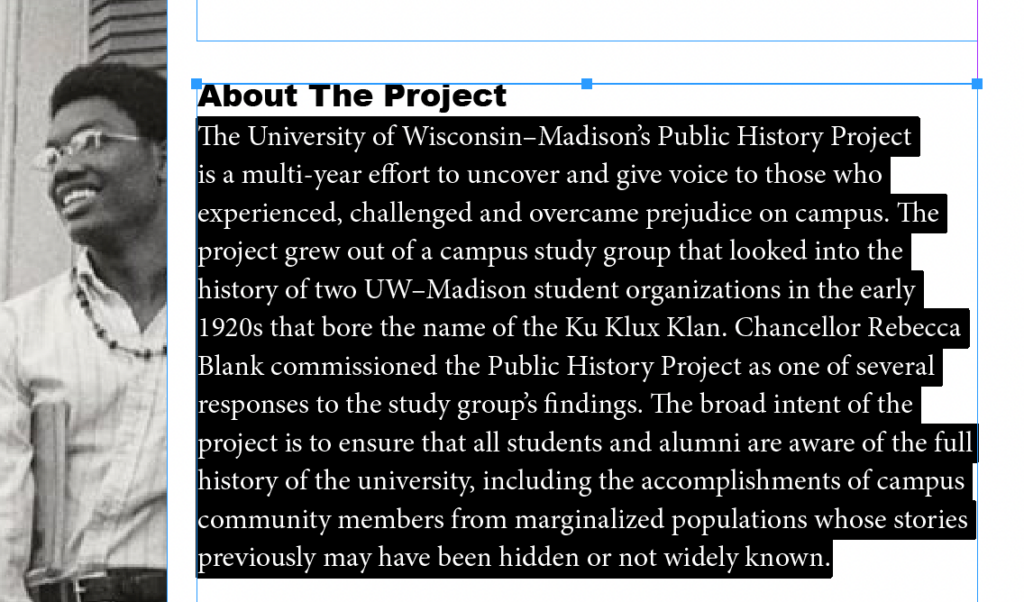
- Now let’s edit our body paragraph text. Highlight the first paragraph under “About The Project” and from the Properties Panel, change the font, size, line spacing, etc. as you please. For our example below, we kept the font and size as is, but changed the space between lines (leading).
- Finally, using the Properties Panel, change the text frame on the right page to have two columns instead of one.
Working with Paragraph Styles
Earlier in our project, we formatted a heading and paragraph text. For our practice project, we will create a Paragraph Style from the text we just formatted above and add it to the remaining text. We will later make a small change to our style and apply the “Redefine Style” option to have our changes affect all other text with that attached style.
Creating a New Paragraph Style
- Highlight “About The Project”; we want all headings within our text to resemble the format of this heading, so we will make this our first new Paragraph Style.
- Go to the Properties Panel and add a new Style (white square with plus sign) from the Text Style options. Rename this “Heading 1” and click the Return or Enter key. We just created our first Paragraph Style!
- Highlight the text “Presentations” and from the Paragraph Styles menu, select ‘Heading 1’ to apply it
- Highlight the text “How to participate” and from the Paragraph Styles menu, select “Heading 1′ to apply it
- Repeat steps 1-3 for the body paragraph text but this time label the new Paragraph Style “Body” and apply it to the remaining paragraphs.
Editing a Paragraph Style (Redefining)
Now that we’ve successfully created two new Paragraph Styles, let’s edit one of them and redefine the style. This will be helpful in case you change your mind about what you want certain parts of your text to look like within your project, without having to manually edit all parts of your text. With Paragraph Styles, any updates to the style will automatically affect text that currently has that style applied to it.
- While the text is still highlighted, click on the “Redefine Style” button within the Text Style options in the Properties Panel.
- Now all of the text that you had applied this style to have automatically updated!
Finalizing the Cover Page
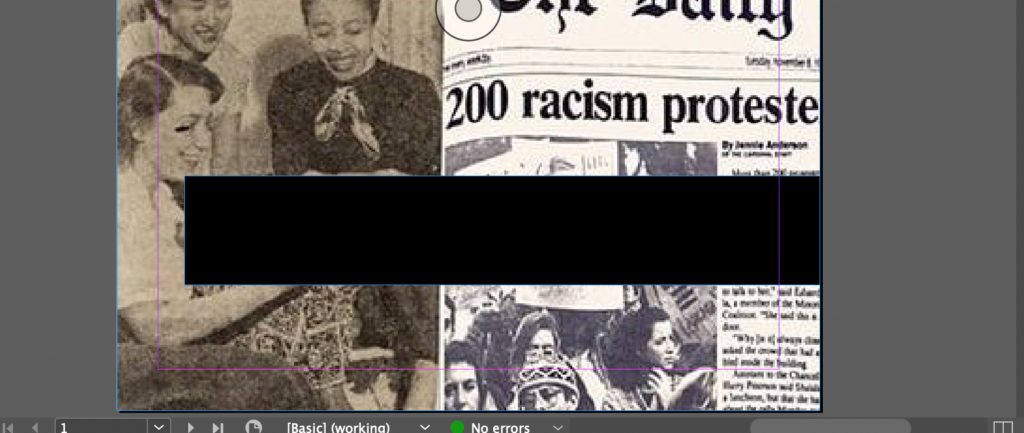
The last thing we need to do to complete our practice project is to add a title to our cover page. We will do this by creating a black rectangle and overlap it with a text frame with white font.
Adding a Rectangle
- Select the Rectangle Tool
- Create a rectangle that is nearly the width of the page at the bottom – you can adjust as needed after. Change the Fill color to ‘Black’ and Stroke Color to ‘None’
Adding a Title
- Drag a Text Frame within the black rectangle you created and type “UW Public History Project”. Notice that you will most likely not be able to see your text since we have a black backround.
- Highlight text and change the Fill Color to ‘Paper’ (this usually means white in InDesign), change the font and size to your liking.

That is it for our InDesign practice project!